
Connecting Google Search Console to Shopify takes under 10 minutes and gives you direct access to Google's indexing data, search queries, and technical site performance. Once connected, you can track which products appear in organic search, submit your automatic sitemap, and identify crawling issues before they impact sales.
If you manage an online store, relying solely on analytics won't show you why products drop in rankings or which pages Google refuses to index. Understanding the boundary between analytics tools and search diagnostics is key, which is why reviewing google search console vs google analytics helps store owners set up proper performance tracking early on.
As of October 2026, setting up Google Search Console (GSC) for Shopify is simpler than ever. However, choosing the wrong verification method still creates tracking gaps across subdomains and custom checkout URLs. Store owners often struggle to manage search performance alongside active content production. Using an automated platform like PulseRank brings your Search Console reporting and SEO content strategy into a single workflow.
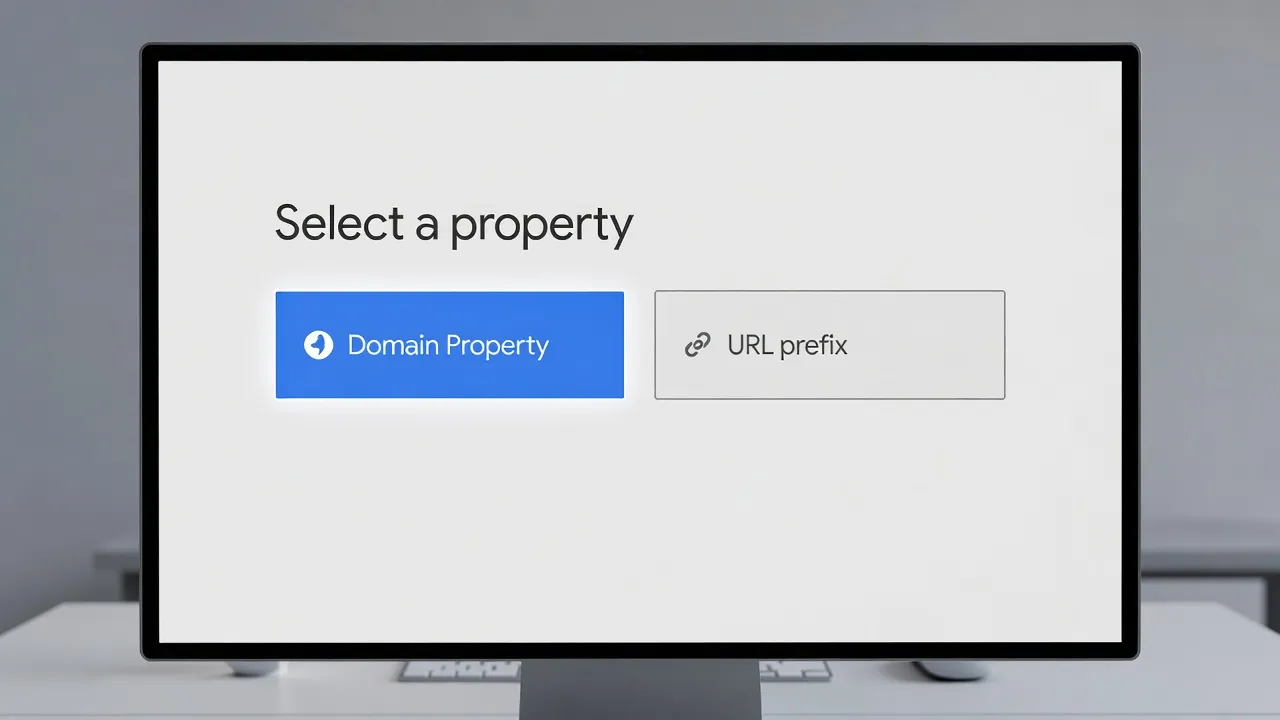
What's the difference between domain property and URL-prefix verification for Shopify?
A Domain Property in Google Search Console covers every subdomain, protocol, and variation of your domain, whereas a URL-Prefix Property only tracks a specific URL format.
When setting up your Shopify store, Google Search Console gives you two property options:
- Domain Property: Tracks
example.com,www.example.com,shop.example.com,http://, andhttps://under a single dashboard. This method requires DNS verification through your domain registrar (such as GoDaddy, Namecheap, or Shopify Managed Domains). - URL-Prefix Property: Tracks only the exact URL pattern you type in, such as
https://www.example.com. It supports quick verification via HTML tags in Shopify'stheme.liquid, but misses traffic on secondary subdomains or protocol variations.
For modern e-commerce stores, setting up a Domain Property is always the better choice. If you only verify https://yourstore.com, traffic hitting https://www.yourstore.com or custom landing page subdomains won't show up in your reports.
Shopify to Google Search Console setup at a glance
The table below summarizes the five steps required to verify your Shopify store and submit your sitemap in Google Search Console.
| Step | Task | Primary Requirement | Realistic Time |
|---|---|---|---|
| 1 | Select Property Type | Google Account & Custom Domain | 1 minute |
| 2 | Verify via DNS TXT Record | Domain Registrar Access (DNS Manager) | 3 - 5 minutes |
| 3 | Alternative HTML Tag Verification | Shopify Admin Access (theme.liquid) | 2 - 4 minutes |
| 4 | Submit sitemap.xml | Published Shopify Store | 1 minute |
| 5 | Inspect URLs & Audit Errors | Google Search Console Dashboard | 5 minutes |
Step 1: Create or select your Google Search Console property
To begin setup, open Google Search Console, log in with your primary business account, and click "Add Property" from the top-left dropdown menu.
Always use a central Google account that your marketing team or agency can access. Avoid using a personal Gmail account that might be hard to transfer later. If you are launching a brand-new store, this setup should be part of your broader seo checklist for new website execution.
Once you click "Add Property," Search Console prompts you to enter your web address under either "Domain" or "URL prefix." Type your primary custom domain (for example, yourstore.com) without https:// or www into the Domain box.
Step 2: How do you verify a Shopify site in Google Search Console using a DNS TXT record?
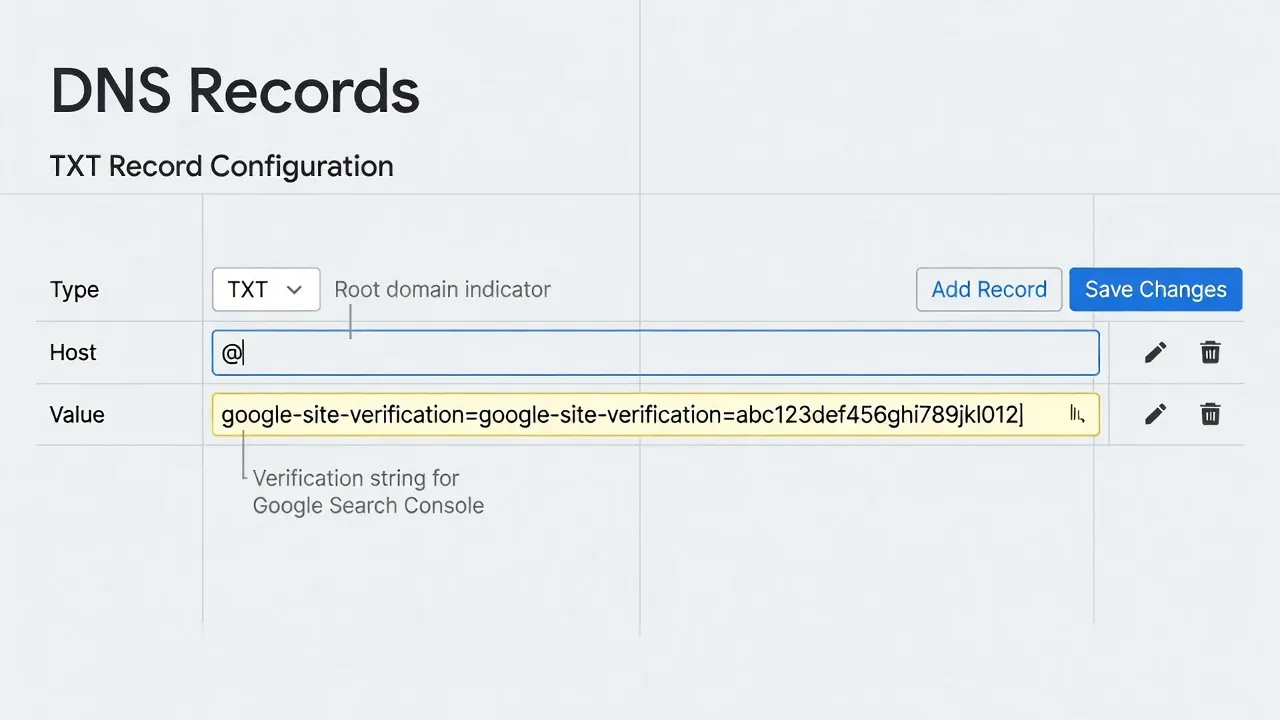
To verify a Shopify site using a DNS TXT record, copy the TXT verification string from Google Search Console and add it as a TXT record in your domain registrar's DNS settings.
Checked in October 2026, DNS TXT verification remains Google's recommended method for domain-level property verification. This process establishes root-level ownership across all protocols and subdomains.
Here is how to complete the DNS verification based on where your domain is managed:
- Copy the code: In the Search Console "Verify domain ownership" pop-up, copy the string that begins with
google-site-verification=. - Access DNS records:
- If managed by Shopify: In your Shopify admin, go to Settings > Domains, select your domain, click Domain settings > Edit DNS settings, and click Add custom record > TXT record.
- If managed by a third party (GoDaddy, Namecheap, Cloudflare): Log into your registrar's portal, open the DNS Zone File or DNS Management panel, and add a new record.
- Configure the record:
- Type:
TXT - Name / Host:
@(or leave blank depending on host requirements) - Value / TXT Value: Paste the copied string (
google-site-verification=...). - TTL: Leave as default (usually 3600 or Automatic).
- Type:
- Click Verify: Return to Google Search Console and click Verify.
As noted in Shopify's domain documentation, DNS propagation can take anywhere from a few minutes up to 24 hours. If Search Console displays an error immediately, wait 15 minutes and try again. According to Wikipedia's guide on DNS TXT records, TXT records are universally used for domain verification because they carry human and machine-readable text without altering web traffic routing.
Step 3: How do you add the Google Search Console HTML verification tag via theme.liquid in Shopify?
To add the Google Search Console HTML tag in Shopify, paste the meta tag provided by Google directly into your theme's theme.liquid file right before the closing </head> tag.
While DNS verification is the ideal approach, HTML tag verification works as a quick alternative if you lack immediate access to your DNS provider.
Follow these exact steps inside your Shopify admin:
- Get the tag: In Search Console, under the "URL prefix" option, select HTML tag as your verification method and copy the meta code.
- Open Code Editor: From your Shopify admin, go to Online Store > Themes.
- Edit Theme Code: Click the three dots (
...) next to your active theme and select Edit code. - Locate theme.liquid: Under the Layout folder on the left sidebar, click
theme.liquid. - Paste the tag: Search for the closing
</head>tag in the code editor. Paste your Google verification tag on a new line right above</head>. - Save and Verify: Click Save in Shopify, then return to Search Console and click Verify.
<!-- Example of Google Search Console Verification Tag in theme.liquid -->
<head>
  <meta charset="utf-8">
  <title>{{ page_title }}</title>

  <!-- Google Search Console Verification -->
  <meta name="google-site-verification" content="Your_Unique_Verification_Code_Here" />

  {{ content_for_header }}
</head>
Warning on Theme Updates: If you change or replace your active Shopify theme in the future, your theme.liquid file will be overwritten. Unless you re-add the meta tag to your new theme, Search Console verification will fail. This is why DNS verification remains the more reliable long-term method.
Step 4: How do you add a sitemap.xml to Google Search Console for a Shopify site?
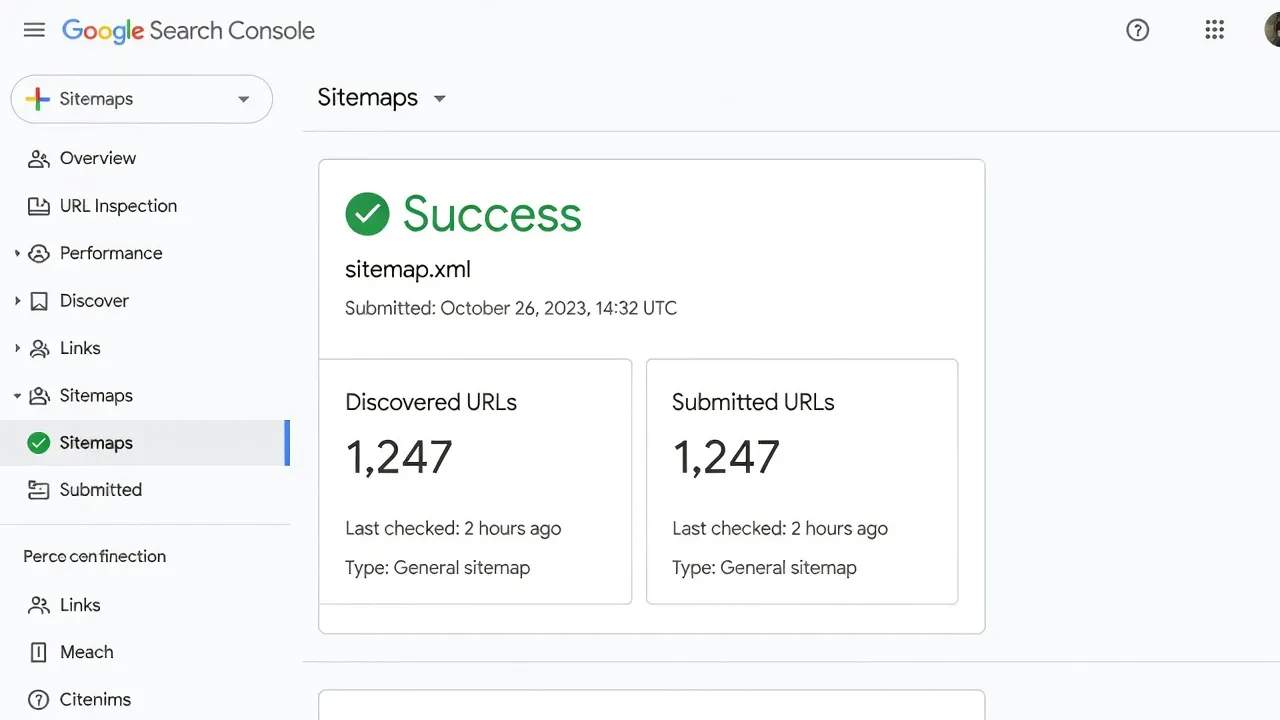
To add a sitemap to Google Search Console for a Shopify site, open the Sitemaps tab in Search Console, type sitemap.xml into the "Add a new sitemap" box, and click Submit.
Shopify automatically generates and updates an XML sitemap for every store. As detailed in Google's sitemap documentation, submitting a sitemap helps search engines discover clean URLs, image locations, and updated product listings faster.
Shopify structures its primary sitemap index file at yourstore.com/sitemap.xml. This parent file automatically links to several child sitemaps:
sitemap_products_1.xml: Product catalog pages and product image meta attributes.sitemap_pages_1.xml: Standard content pages (About Us, Contact, FAQ).sitemap_collections_1.xml: Collection/category landing pages.sitemap_blogs_1.xml: Blog posts and article content.
When you submit sitemap.xml in Search Console, Google automatically reads all child sitemaps linked within it. You do not need to submit the individual child sitemaps manually.
Step 5: Test indexing and fix crawl errors
After connecting your store and submitting your sitemap, use the URL Inspection Tool to check how Google crawls individual product pages and collections.
Once setup is complete, data will start populating in your Search Console reports within 24 to 48 hours.
Key areas to monitor in your Shopify Search Console dashboard:
- Page Indexing Report: Check which pages are indexed and which are excluded. Common excluded categories include duplicate pages generated by Shopify tag filters or canonicalized variant URLs.
- URL Inspection Tool: Paste any product URL into the top search bar to verify live indexing, canonical tags, and mobile usability.
- Coverage Errors: Identify broken links or server errors. If you delete products without setting up 301 redirects, Google will flag 404 response codes. Learn how to resolve these quickly by reading our guide on how to fix 404 errors in google search console.
Automating Search Console insights and content publishing with PulseRank
Monitoring Search Console data manually can become time-consuming when managing hundreds of product pages, blog posts, and collection hierarchies.
While Google Search Console highlights indexing errors and keyword positions, fixing those gaps requires publishing high-quality, structured content consistently. This is where an organic growth platform like PulseRank fits into your store strategy.
For $499 per month, PulseRank combines keyword research, content strategy, article generation, direct publishing, and Search Console performance tracking into a single flat plan. Instead of juggling separate subscriptions:
- Direct Shopify Publishing: PulseRank writes complete, GEO-optimized articles and publishes them straight to your Shopify blog.
- Integrated Performance View: You get a built-in Search Console dashboard that identifies which published articles rank for target keywords and pinpoints pages that are under-earning their search position.
- Automated Content Operations: It delivers 30 citation-ready articles every 30-day period complete with schema, third-party sourced facts, data tables, and image alt text.
Connecting your Search Console performance data directly to your publishing strategy ensures your store generates consistent organic traffic without building complex custom workflows.
How to fix common Shopify Google Search Console indexing issues
Shopify's default architecture creates specific URL structures, canonical tags, and parameter setups that frequently trigger Search Console warnings.
Understanding how to address these warnings prevents false alarms in your indexability reports:
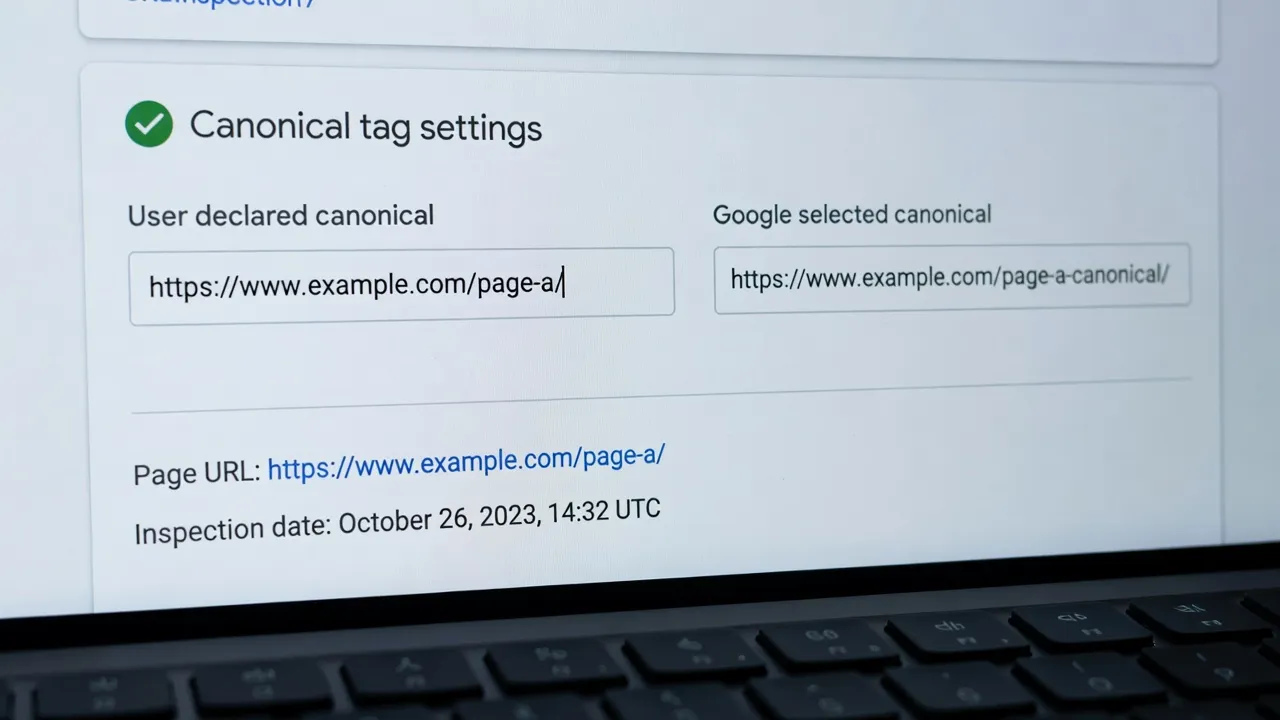
Why does Google exclude "Duplicate without user-selected canonical" in Shopify?
Shopify automatically creates secondary URLs when products are accessed through collection paths, pointing the canonical tag back to the main /products/ URL.
For example, a product might exist at both:
yourstore.com/collections/frontpage/products/blue-shirtyourstore.com/products/blue-shirt
Shopify places a canonical tag on the collection version pointing directly to /products/blue-shirt. Google correctly chooses not to index the collection path version and marks it as "Duplicate without user-selected canonical." This is standard behavior for Shopify stores and does not hurt your search rankings.
How do you handle international domain setup in Search Console?
If your Shopify store uses multi-region expansion with subfolders (like /en-ca or /fr), verify your primary domain property so Google automatically captures all language variants.
Shopify handles hreflang tags natively when you enable multi-language support under Settings > Markets. Verifying a Domain Property ensures all subfolder paths are monitored under one dashboard. Store owners looking to scale international visits should also audit their tracking through organic traffic google analytics reports.
Frequently Asked Questions
How long does it take for Google Search Console to show Shopify data?
Data usually takes 24 to 48 hours to start populating in Google Search Console after you complete verification and submit your sitemap.
Is Google Search Console free for Shopify store owners?
Yes, Google Search Console is a 100% free tool provided directly by Google for webmasters and e-commerce business owners.
What happens if I change my Shopify theme after verifying Search Console?
If you verified using DNS TXT records, nothing breaks and verification stays active. If you verified using an HTML tag in theme.liquid, you must copy the meta tag into your new theme's code file.
Do I need to re-submit sitemap.xml when I add new products to Shopify?
No, Shopify automatically updates your sitemap.xml file whenever you add, edit, or remove products, collections, or blog posts.
Why is my Shopify store not indexed in Google Search Console?
New stores often take several days to be crawled, or your store password protection might still be enabled under Online Store > Preferences.
Should I verify my myshopify.com domain or my custom domain?
You should always verify your custom domain (e.g., yourstore.com). Your store should redirect myshopify.com URLs to your primary custom domain.
What is the difference between Google Search Console and Google Analytics?
Google Search Console measures search engine crawling, indexing, and performance on Google search results, while Google Analytics tracks user behavior and traffic conversions on your store.