
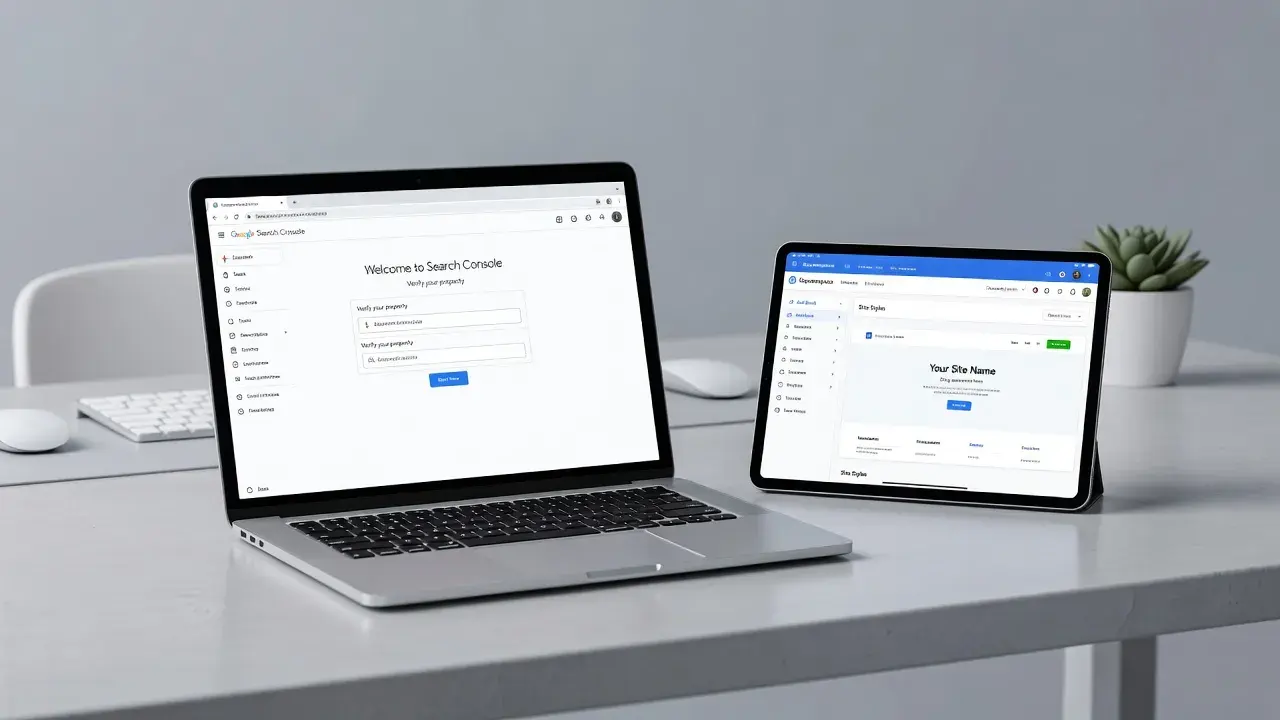
Connecting Squarespace to Google Search Console takes under 15 minutes by authenticating domain ownership via direct Google account authorization, DNS TXT record, or HTML code injection, and then submitting your automatically generated sitemap.xml file. Completing this connection allows Google to discover, index, and report on your site's search traffic. You do not need developer skills or paid add-ons to verify your site, though certain verification options depend on your Squarespace subscription plan.
Setting up Google Search Console (GSC) is an essential first step in any seo checklist for new website strategy. Once linked, GSC provides raw data regarding search queries, indexation state, and technical crawling issues. While Google Search Console collects traffic metrics, many site owners pair it with automated growth tools like PulseRank to manage keyword research, daily content publishing, and GSC performance tracking in a single workflow.
Here is a quick overview of the setup methods, required Squarespace plans, and average completion times.
| Verification Method | Required Squarespace Plan | Average Time | Best For |
|---|---|---|---|
| Direct Google OAuth | All Plans (Personal, Business, Commerce) | 2 Minutes | Fast setup using primary Google account |
| DNS TXT Record | Custom Domain registered or hosted on Squarespace | 5–10 Minutes | Complete domain coverage (HTTP, HTTPS, www, subdomains) |
| HTML Code Injection | Business, Commerce, or Enterprise Plans | 3 Minutes | Sites using third-party domain registrars without direct DNS access |
| Sitemap Submission | All Plans | 1 Minute | Indexing all site pages immediately after verification |
How to add a new property in Google Search Console for a Squarespace domain?
To add a new property in Google Search Console for a Squarespace domain, open the GSC dashboard, click the property dropdown menu, select "Add property," and choose either the Domain or URL prefix option. The Domain property type covers all protocols and subdomains (http://, https://, www, and root), while the URL prefix property targets one specific URL structure.
- Click Property Dropdown and select "Add property"
- Choose Property Type:
| Property Type | Requirement |
|---|---|
| Domain Property | Requires DNS TXT |
| URL Prefix Property | HTML Tag Injection |
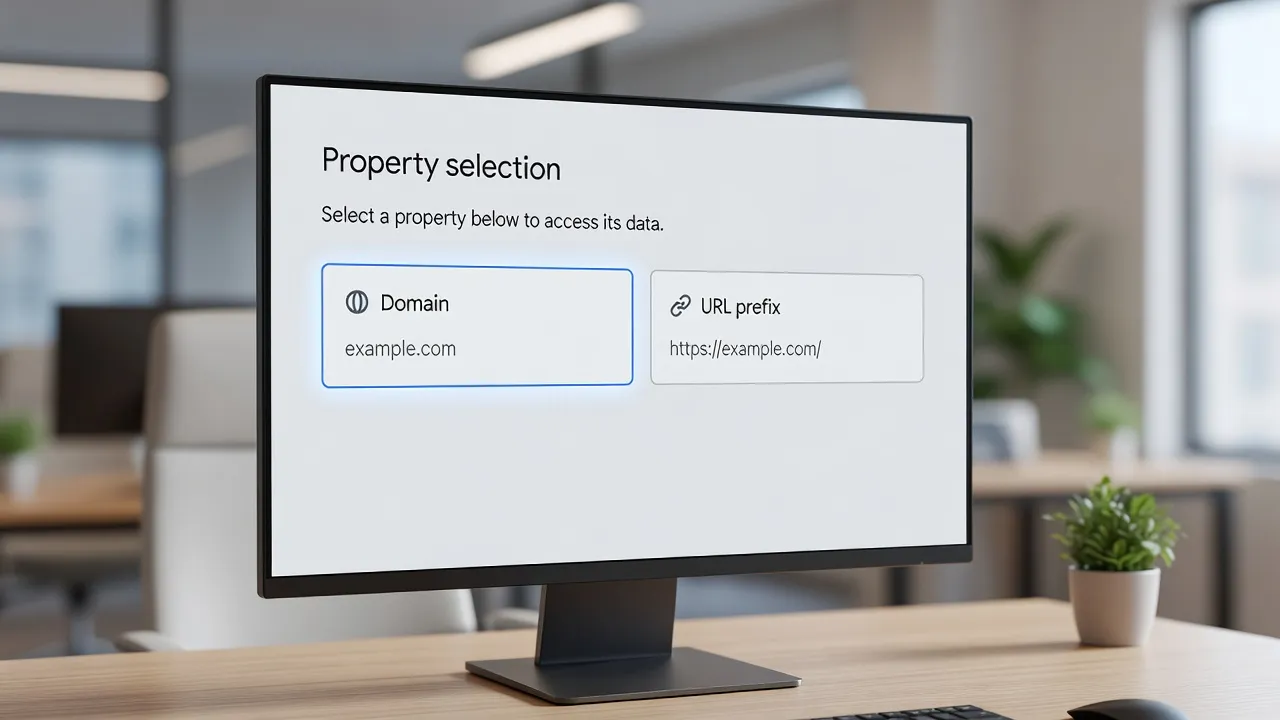
Step 1: Open Search Console and choose property type
Log in to Google Search Console using the main Google account tied to your business. Click Add property in the top left selector. For complete tracking across all variations of your custom domain, enter your bare root domain (such as yourdomain.com) in the Domain box on the left.
Step 2: Handle custom domains vs built-in site domains
If your site still uses a default Squarespace URL (like your-site.squarespace.com), you must use the URL prefix option on the right. Google cannot grant root domain verification for shared subdomains on squarespace.com. For custom domains purchased through Squarespace or third parties, always choose the Domain property type to keep tracking clean.
How to verify a Squarespace site with Google Search Console using a DNS TXT record?
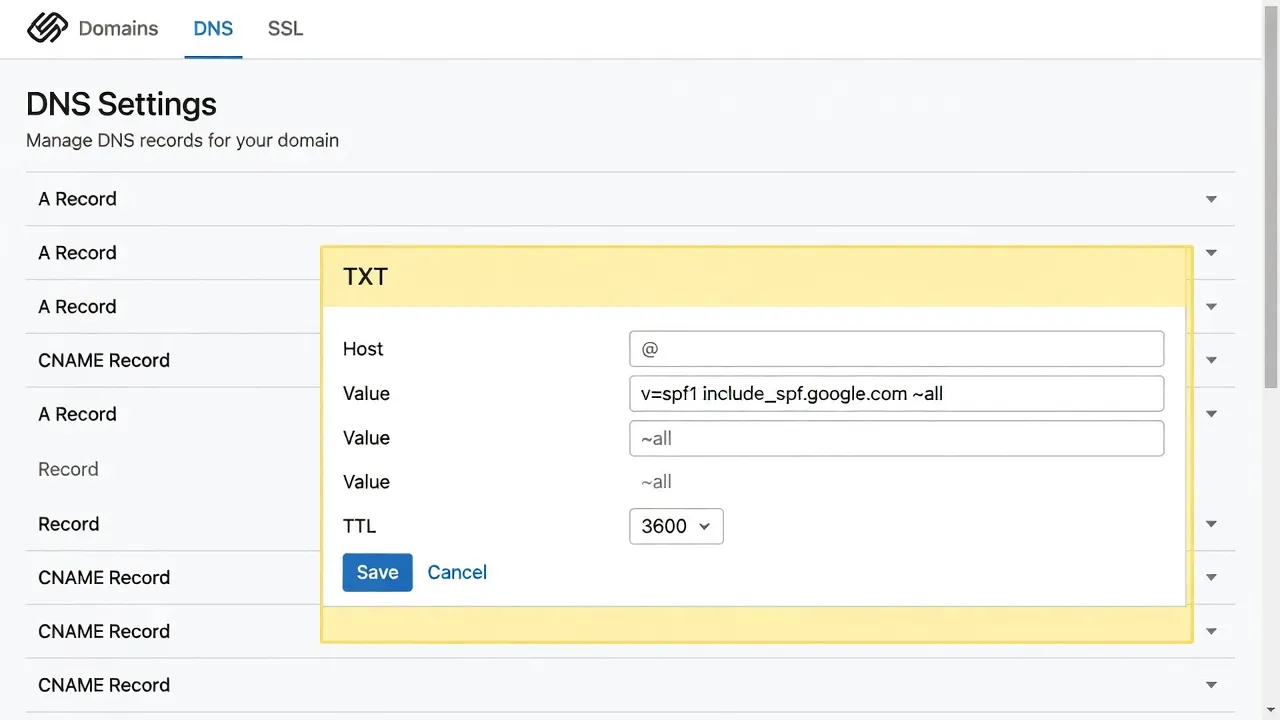
To verify a Squarespace site using a DNS TXT record, copy the TXT verification code provided by Google Search Console and paste it into your domain's Custom Records inside the Squarespace DNS Settings panel. This method is the official standard recommended by Google for full-domain verification.
Step 1: Copy the TXT record from Search Console
Select the Domain property option in Search Console and enter your domain name. Search Console will display a text string starting with google-site-verification=. Click Copy to store this verification token in your clipboard. Leave this browser tab open while you update your domain settings.
Step 2: Access Squarespace DNS settings
Open your Squarespace account in a new tab and go to Home > Settings > Domains. Click on the custom domain name you are connecting. Scroll down and click Edit DNS (or DNS Settings). According to Squarespace Domain Support, you must have administrative permissions on the site to edit custom DNS entries.
Step 3: Add the custom TXT record
Scroll down to the Custom Records section at the bottom of the DNS settings panel. Click Add Record, select TXT from the Type dropdown, enter @ in the Host field, and paste your verification string into the Data field. Click Save. Return to Google Search Console and click Verify.
Record Type:  TXT
Host / Name:  @
Data / Value: google-site-verification=XXXXX-example-string-XXXXX
How to verify a Squarespace site with Google Search Console using an HTML tag (header code injection)?
To verify a Squarespace site using an HTML tag, copy the <meta> tag provided by Google Search Console and paste it into the Header field under Squarespace's Code Injection menu. This approach requires an active Squarespace Business or Commerce subscription, as code injection is disabled on Personal plans.
+-------------------------------------------------------------+
|                  Squarespace Admin Dashboard                |
|  Settings -> Developer Tools -> Code Injection              |
|                                                             |
|  Header Text Box:                                           |
|  <meta name="google-site-verification" content="TOKEN" />   |
+-------------------------------------------------------------+
Step 1: Obtain the HTML tag from Search Console
In Google Search Console, choose the URL prefix property type and enter your full URL (including https://). Under Other verification methods, click HTML tag. Copy the generated meta tag string. It will look like <meta name="google-site-verification" content="your_unique_code" />.
Step 2: Open Squarespace Code Injection
In your Squarespace menu, navigate to Settings > Developer Tools > Code Injection (or Website > Website Tools > Code Injection depending on your template version). Locate the Header box at the top of the page. Paste your copied meta tag directly into this box without modifying the code structure.
Step 3: Save changes and complete verification
Click Save at the top left of the Squarespace panel to publish the code snippet to your site's live HTML <head> section. Return to Google Search Console and click the Verify button. Google will load your site's home page, locate the tag, and grant ownership status instantly.
How to submit a sitemap.xml to Google Search Console for Squarespace?
To submit a sitemap to Google Search Console for Squarespace, navigate to the Sitemaps tab in Search Console, type sitemap.xml into the Add a new sitemap field, and click Submit. Squarespace automatically builds and updates your XML sitemap in real time at yourdomain.com/sitemap.xml.
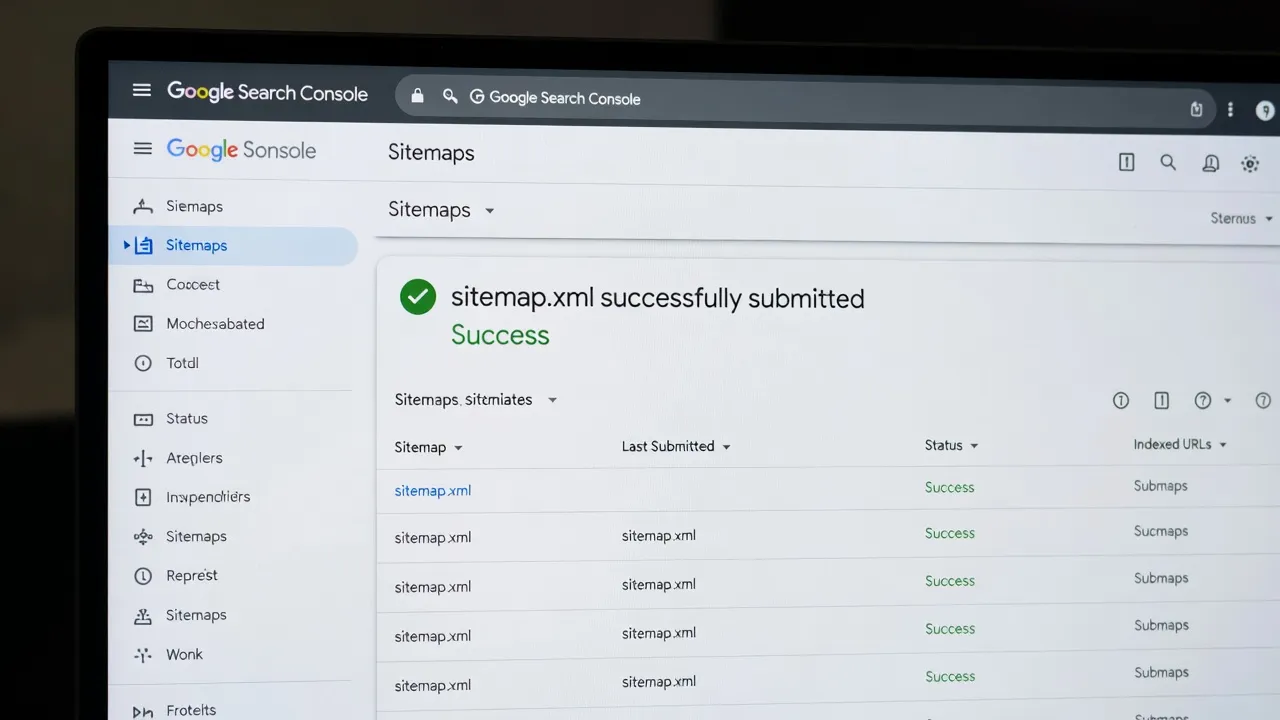
Step 1: Locate your Squarespace sitemap URL
You do not need to install plugins or generate manual files to build a sitemap in Squarespace. Squarespace auto-generates a clean XML sitemap containing all active pages, blog posts, events, and portfolio items. Test your sitemap by visiting https://yourdomain.com/sitemap.xml in your browser to verify it loads without errors.
Step 2: Enter the path in Google Search Console
Log into Google Search Console and click Sitemaps under the Indexing section in the left sidebar. Under Add a new sitemap, your domain prefix will already be displayed. Type sitemap.xml into the text box following the slash.
Enter URL: https://www.yourdomain.com/ [ sitemap.xml ] -> Click SUBMIT
Step 3: Confirm submission status
Click Submit. Google will process the sitemap and display a status message. A green Success label indicates Google retrieved your URL index. If it shows Could not fetch, wait a few minutes and re-submit; initial DNS propagation can occasionally delay Google's first crawl attempt. Official requirements for XML structure are detailed on Google's Search Central Sitemaps Guide.
Using built-in Squarespace analytics vs Google Search Console
Squarespace Analytics tracks internal user interaction like button clicks and site visits, while Google Search Console records external search queries, impressions, and indexing health. Both toolsets serve separate roles in measuring site health and growing search presence.
Understanding the difference between raw query data and session metrics is vital for growth. A full comparison of traffic metrics can be reviewed in our guide on google search console vs google analytics.
- Squarespace Analytics: Focuses on revenue tracking, traffic traffic sources (referral, direct, search), top conversion paths, and pageviews. It relies on javascript tags loaded in the visitor's browser.
- Google Search Console: Focuses on search engine impressions, keyword positions, click-through rates (CTR), crawl errors, and mobile usability issues. It collects data directly from Google's search index engine before a user ever clicks.
While GSC provides query data, acting on those insights requires creating and maintaining search-optimized content. Platforms like PulseRank streamline this process by using your keyword opportunities to generate and publish citation-ready articles directly to your site while tracking GSC ranking changes automatically.
Troubleshooting common Search Console errors on Squarespace
Most Google Search Console errors on Squarespace stem from incorrect domain canonicalization, draft pages returning 404 header codes, or misconfigured SSL certificates. Addressing these technical issues promptly prevents drop-offs in organic traffic.
1. Verification failed or TXT record not found
If Search Console returns a verification error after adding a TXT record, the issue is usually DNS propagation delay. While custom DNS edits often take effect in minutes, global propagation can take up to 24-48 hours according to IETF RFC 1035 Standards. Wait one hour, clear your browser cache, and click Verify again.
2. Page indexed, double canonical issues, or duplicate URLs
Squarespace automatically generates canonical tags for all published content to prevent duplicate content penalties. However, if you recently moved your site from a yourdomain.squarespace.com address to a custom domain, Google may temporarily index both. Ensure your primary domain is toggled as the primary domain under Settings > Domains in your Squarespace panel.
3. Excluded by 'noindex' tag
If Search Console lists pages under "Excluded by 'noindex' tag", check your page settings inside Squarespace. Open the page settings gear icon, click SEO, and confirm that Hide Page from Search Results is turned off. If enabled, Squarespace injects a noindex robots tag into the header, instructing Google to drop the page from search.
4. Fixing 404 response errors
Deleted pages or modified URL slugs trigger 404 "Not Found" messages in Search Console reports. Use Squarespace's URL Redirects menu (Settings > Developer Tools > URL Redirects) to create 301 redirects from old paths to live pages. For step-by-step instructions on handling crawl errors, refer to our tutorial on how to fix 404 errors in google search console.
How to connect Squarespace directly via the native Google Integration
Squarespace offers a native one-click Google Search Console integration inside the Analytics menu that automates site verification without requiring manual code or DNS edits. This method uses OAuth authentication to verify site ownership immediately.
Squarespace Built-In Integration
To connect Google, navigate to Home > Analytics > Search Keywords > Connect Google.
- Authenticate with Google account
- Automatic verification & sitemap submission
Step 1: Open Search Keywords in Squarespace
Log into your Squarespace panel and navigate to Analytics > Search Keywords. Click the Connect button on the Google Search Console banner displayed across the page.
Step 2: Authorize your Google account
A pop-up window will ask you to select your Google account. Choose the account you wish to link with Search Console. Accept the permission request allowing Squarespace to manage search console data for your domain.
Step 3: Verify automatic submission
Once authenticated, Squarespace verifies ownership and automatically submits your sitemap.xml file to Search Console. The Search Keywords dashboard will begin displaying search query impressions, position metrics, and click data within 48 to 72 hours.
Scaling search performance with PulseRank and Search Console
Connecting Google Search Console to Squarespace gives you visibility into your search metrics, but scaling organic traffic requires a consistent publishing and optimization routine. Gathering data alone will not grow your business unless you systematically create content that ranks for underperforming search queries.
| Step | Component |
|---|---|
| 1 | Keyword Research |
| 2 | Strategy |
| 3 | 30 Articles/Mo |
| 4 | Direct Publish (WP/Shopify/Wix) |
| 5 | GSC Reporting View |
Keyword Research feeds into Strategy, which feeds into 30 Articles/Mo. The output from 30 Articles/Mo feeds into Direct Publish (WP/Shopify/Wix), which feeds into GSC Reporting View. GSC Reporting View feeds back into Keyword Research.
Automating content strategy removes the friction of maintaining an active business blog. PulseRank runs your entire organic search operation for $499 per month on a flat, all-inclusive plan. The service researches high-intent keyword pools, creates a 30-day strategy, and automatically generates and publishes one citation-ready article daily straight to your platform.
Every published piece includes data tables, sourced third-party facts, generated visual assets with optimized alt text, and relevant internal links. Results are monitored in an integrated Google Search Console performance dashboard alongside AI citation tracking, allowing you to quickly spot ranking leaps and capture high-intent organic traffic without juggling multiple software subscriptions.
Frequently Asked Questions
How long does it take for Google Search Console to show Squarespace data?
It takes between 48 and 72 hours for search performance data to populate in Search Console after initial site verification. Google must crawl your pages and compile search impression metrics before updating the dashboard.
Does Squarespace automatically submit my sitemap to Google Search Console?
Squarespace automatically submits your sitemap only if you connect Google Search Console using the built-in Analytics Search Keywords interface. If you verify your domain manually via DNS TXT records or HTML tags, you must submit sitemap.xml manually in Search Console.
Why does my Squarespace sitemap show a "Could not fetch" status in Search Console?
A "Could not fetch" error usually indicates temporary DNS latency or an active site password on Squarespace. Ensure your site is set to Public under Settings > Site Availability and re-submit sitemap.xml after a few minutes.
Can I connect Google Search Console on a free or trial Squarespace site?
No, trial Squarespace sites password-protect your public pages, preventing Google crawlers from accessing your content. You must upgrade to an active paid plan and remove site passwords before Search Console can complete verification.
What is the difference between a Domain property and a URL prefix property for Squarespace?
A Domain property covers all protocol variations and subdomains (such as http://, https://, www, and root) using DNS verification. A URL prefix property tracks only one precise URL structure (such as https://www.yourdomain.com/) using HTML or code injection tags.
Do I need a Squarespace Business plan to use Google Search Console?
No, you can verify a Squarespace site on any subscription plan, including the Personal plan, using DNS TXT record verification or native Google OAuth. However, the HTML code injection verification method requires a Business or Commerce plan.
How do I reconnect Google Search Console if my Squarespace domain changes?
If you change your primary domain name in Squarespace, you must add the new domain as a separate property in Google Search Console, complete verification, and submit the new sitemap.xml address.